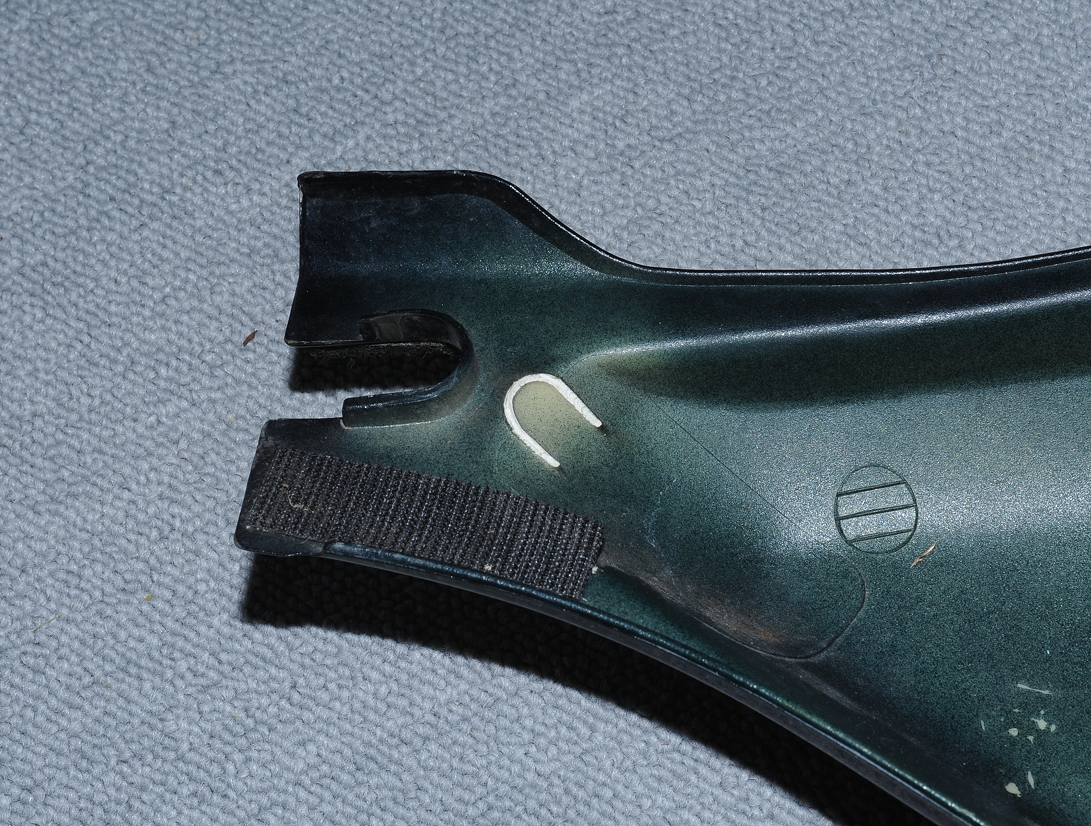
The bike’s right side cover was missing the mounting post. As you can see here, it’s was a clean break. Before replacing the post I used a file to flatten out the horseshoe shaped area.
Here’s the finished repair. Fortunately the right cover was still intact, so I had a part to copy. The new post is held in place with JB Weld High Temp Epoxy Putty. For better adhesion I scuffed the parts with sandpaper before applying the epoxy putty. The High Temp JB weld is more like molding clay before it cures, unlike the regular JB weld which is somewhat runny. Using the Hight Temp epoxy made the repair much easier.
I used Fusion 360 3D CAD software to design a new post which, except for having slightly thicker walls, exactly matched the right cover. I then created a mirror image to obtain the post for the left cover. The only real difference between the two is the slope of the base. While it wasn’t necessary — no one’s going to mistake the repair for factory original condition — for fun I modeled all of the the details such as molding marks and the rectangular hole. I have no idea what the slot in the top is for, the plastic used in the original isn’t flexible.
Here’s a zip file containing the STL files for those who want to print their own replacement post: gl500sideCoverPegs
For strength, the parts were printed in ABS oriented as shown here. My Monoprice Mini printer does a great job with PLA and an OK job with ABS. As you can see, there’s a little bit of warping along the bottom edge. These left and right-side parts were printed with 100% fill (i.e. solid) and supports.
Here you can see both sides of the parts. The step in the transition from half-round to flat is intentional. Those marks are in the original.

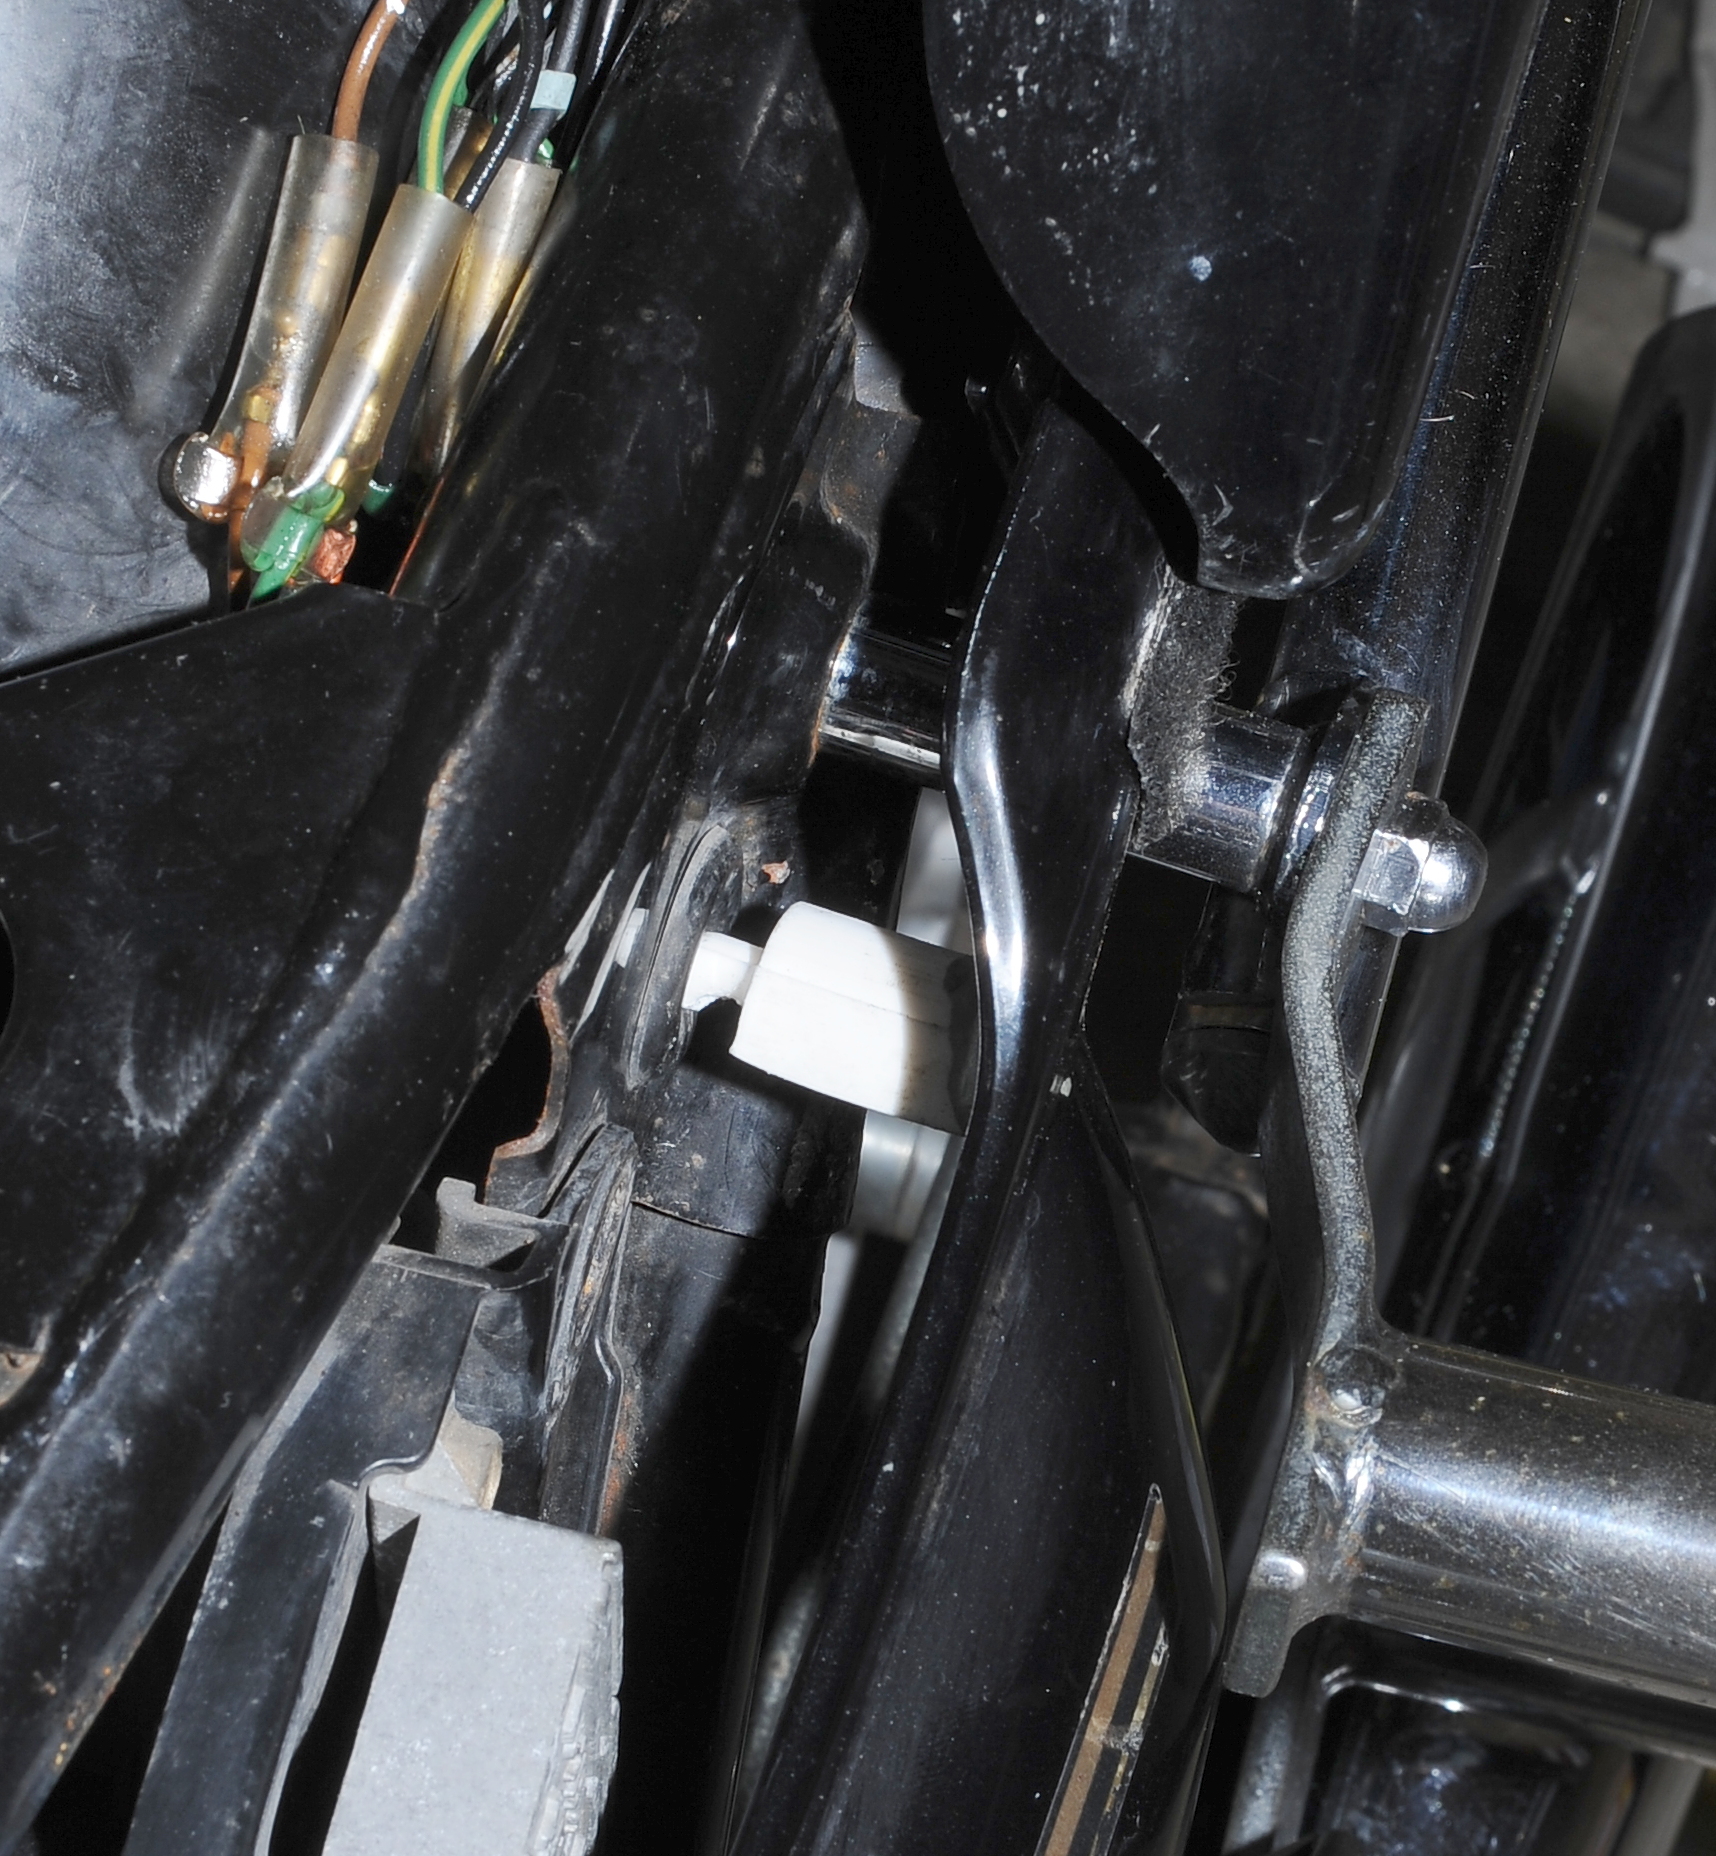
The most important thing about this repair is getting the alignment correct. With the JB Weld in place, I couldn’t really see to position the part over the old break. That’s OK, all I needed to do was set the posts in their respective grommets and move this new post around until it was both centered and perpendicular to the frame. After centering, I’d re-work the JB Weld and then re-check the alignment.