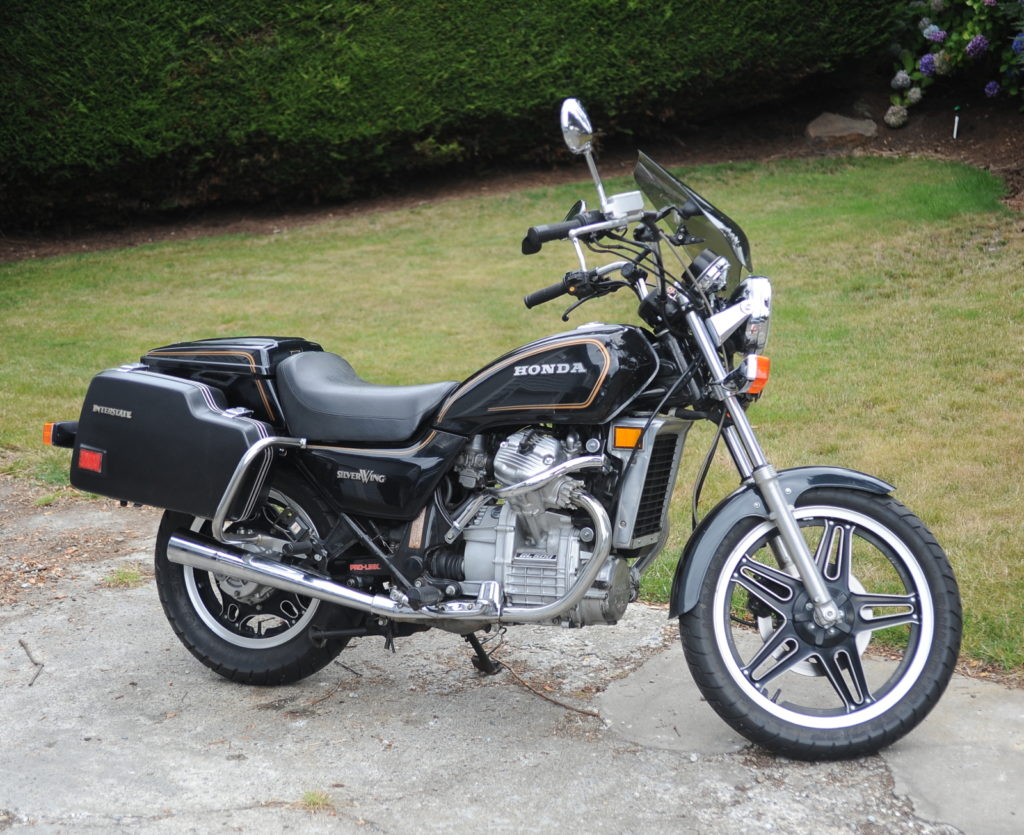
Do your ABS saddlebags look like this? On this page I’ll describe how I repaired my saddlebags using 3D printer filament to both repair cracks and fill in gouges. I’ll also describe how I painted the bags with truck-bed liner (coating). If you attempt this, please follow the safety warnings on the containers for the paint and acetone products.
Note: Click on any of the pictures to enlarge.
 As a preview, here’s the finished result we’re after.
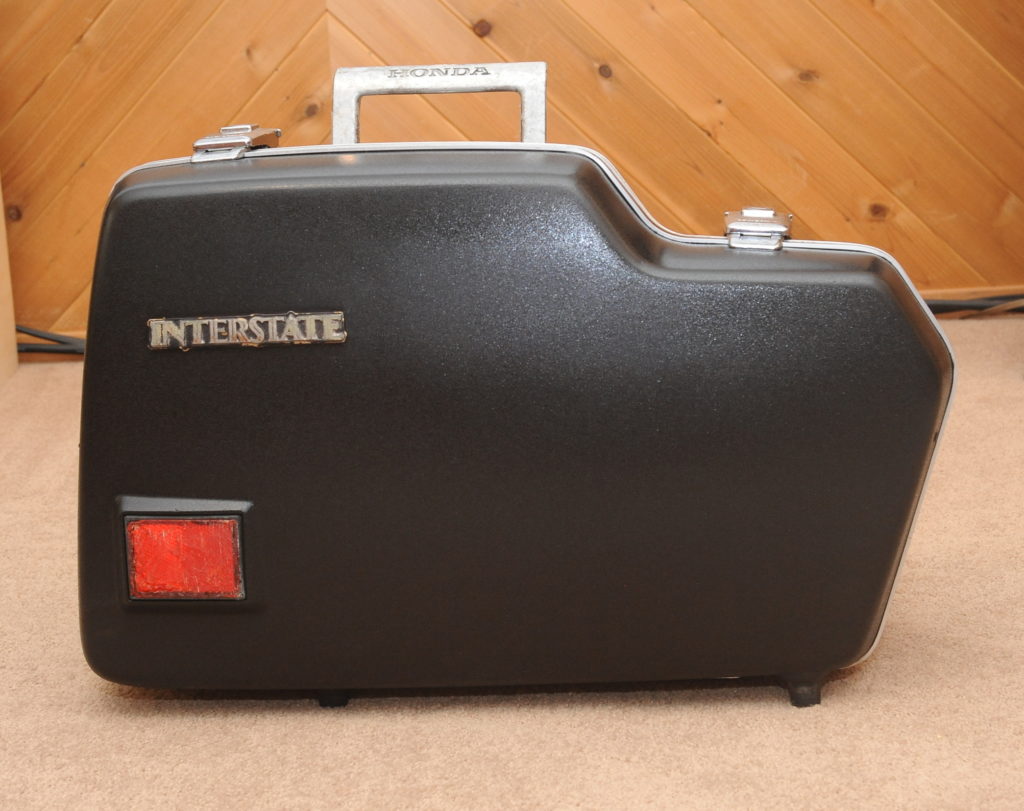 If not made out of metal or fiberglass, older saddlebags are most often made out of a plastic called ABS, which begins to melt around 220 deg F, and can be dissolved in acetone. To do the repairs described here, you’ll only need a couple of feet of ABS filament, at most. If you don’t already have some filament, beg some off a friend. Make sure you’re using ABS filament. A lot of 3D printer filament is a plastic called PLA. You don’t want that. Any color ABS is fine, though black will probably work best.
I used the ABS filament two different ways. For large cracks, I melted the filament. For deep scratches I turned the filament into an ABS putty. If you don’t have a good way to melt the filament, you can also repair cracks with acetone (e.g. acetone welding) and ABS putty. You may want to experiment with the putty’s viscosity. You can find many articles and videos on the web describing acetone welding.
To repair cracks I first scraped away the paint and any contamination, and then, using the corner of of the razor blade, scraped the crack until there was a small v-shaped groove. Next I used a hot-air soldering station to melt the tip of the ABS filament without heating the case. I pushed the melted plastic into the groove with the tip of a screwdriver and then heated the new plastic and the surrounding area to melt the plastics together. While doing this I backed the crack from the inside of the case with a folded cloth to keep the case from distorting as I further worked the plastic into the crack. After cooling, I sanded the plastic down to a smooth surface being careful not to make the case plastic thinner. I could only fix a small part of the crack at a time using this technique.
To repair deep scratches I started by making ABS putty. I cut about 12 inches of filament into short pieces and put them in a small glass jar. I then added a bit of acetone, covered the jar with a lid, and let it set overnight. If you try this and use too much acetone the end result will be too runny. If that happens, in a well ventilated space, just leave the lid off to allow some of the acetone to evaporate. What you want is a putty that has the consistency of grease.
After cleaning the scratch to remove any contamination and expose the ABS, I would dip an ice pick into the putty and then drag it along the scratches. I suppose I could have used a toothpick instead. The acetone in the putty welded the putty and case plastic together. After the acetone evaporated and the plastic had hardened, I used a fine flat file to remove most of the excess. I could have just sanded the plastic flat, but I found the the file was less likely to remove material I wanted to keep. Once most of the excess plastic was filed off, I used a pad sander to smooth the repair.
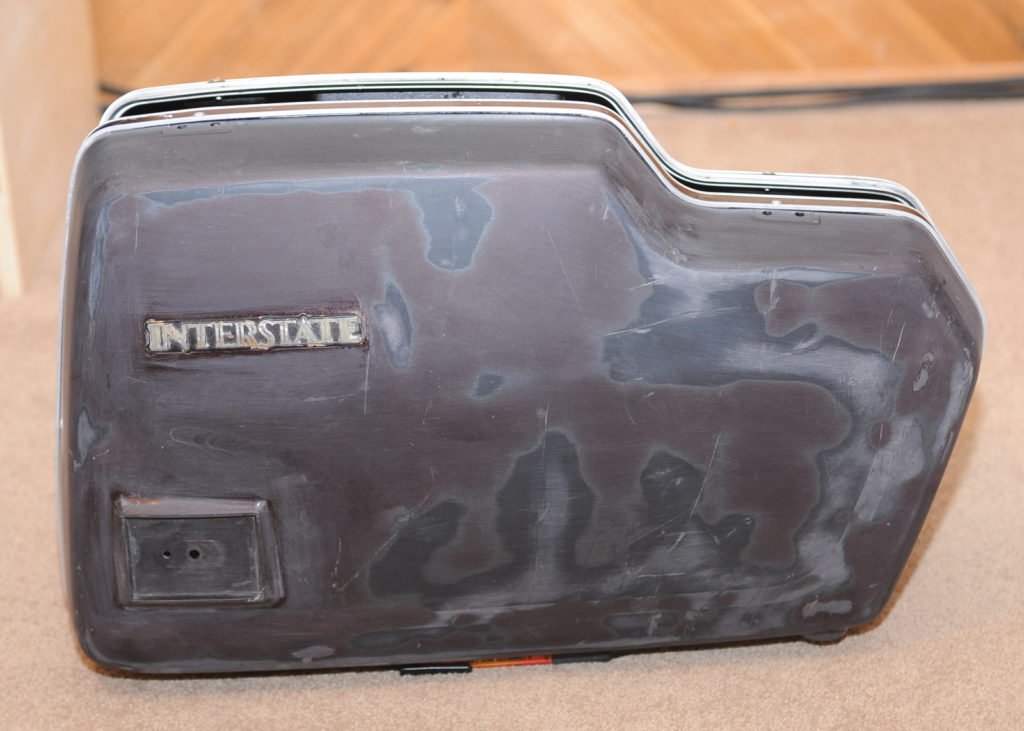
Here’s what my bag looked like after the ABS repairs,and after sanding with both a pad sander, and a coarse sanding sponge to rough up the surface before painting. I’ve also removed the striping with a razor blade. You can see that in many places I’ve sanded through the paint to remove shallow scratches. While I could still see the deep scratches after the repairs, I couldn’t feel them — they passed the fingernail test. If you try this, don’t over sand the case, stop when you’re through the paint. You don’t want to remove any of the case ABS as you want wall thickness for strength. You need to be especially careful sanding sharp bends, it’s very easy to remove too much material at the very locations where strength is most needed.
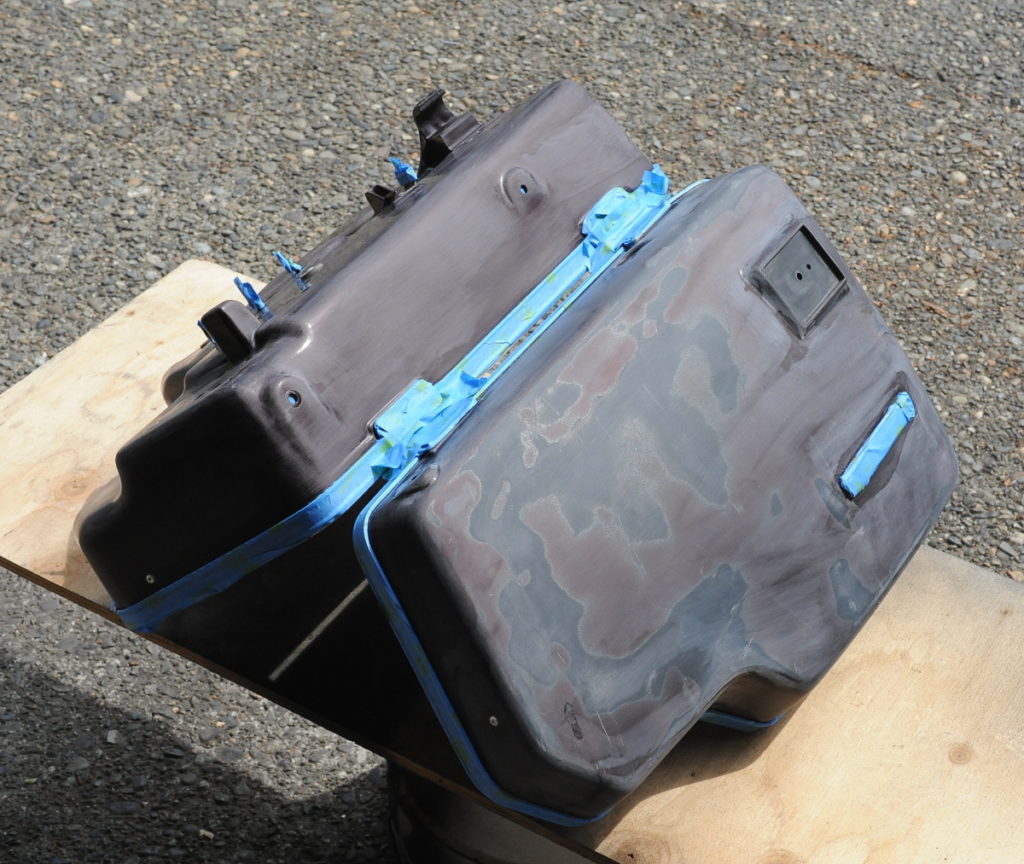
 After masking off all of the hardware I couldn’t remove, I positioned the bag like this so that I could do all of the painting at one time without having to move the bag. Before masking I washed the bag with soap and water. After masking I gave the bag one last wipe down with alcohol to remove any last grease or dust. It should be obvious, but you don’t want to wipe down the bags with acetone. They’ll melt!
 My first two coats of paint were Rust-Oelum Painter’s Touch Ultra Cover. I used this because it’s supposed to stick to plastic and I couldn’t locally source any plastic primer or adhesion promoter. The truck bed coating serves as the top coat to the paint+primer. One can of each was more than enough to do both bags.
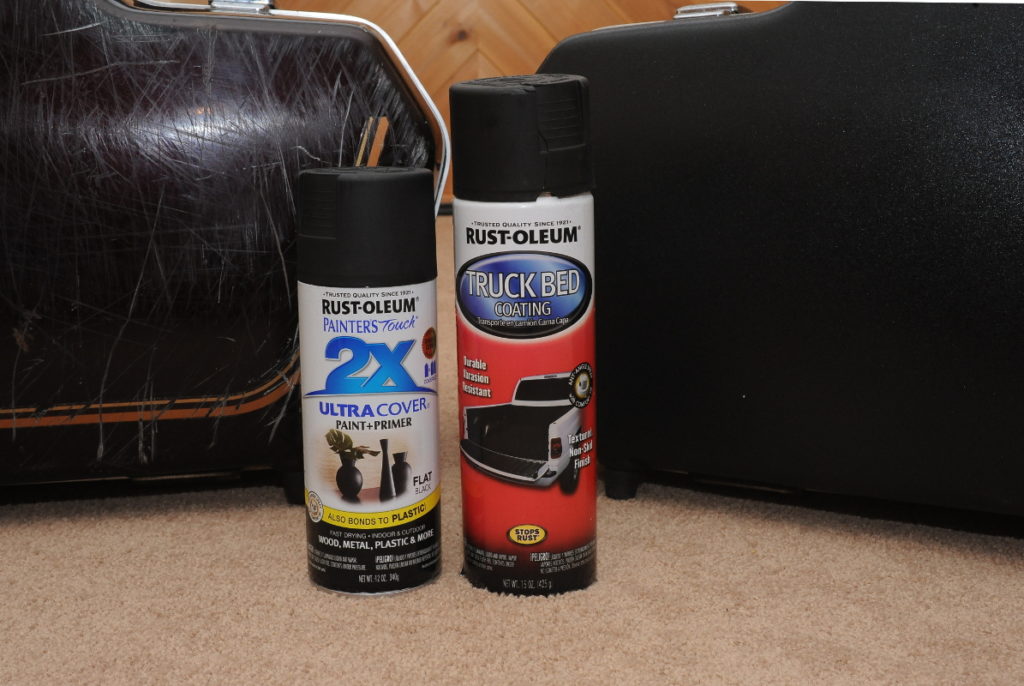 According to the can, Rust-Oleum Truck Bed Coating is only for primed, or bare metal truck beds; I honestly don’t yet know how well this combination of products will work on ABS. Only time will tell.
Here’s the bag after two coats of the paint+primer. The paint was applied with about a two minute gap between coats per the instructions on the can. Even though I’ve done a fair amount of prep, it would take a lot more priming and sanding if I wanted a nicely painted bag. Frankly, the hardware on these bags is in bad enough shape that a nice paint job would be a waste of time and money. So, on to the truck bed coating.
 Five minutes after applying the paint I sprayed two coats of the truck bed coating, allowing about two minutes between coats. I’m really impressed with how even the finish is. Credit the product, not the painter.
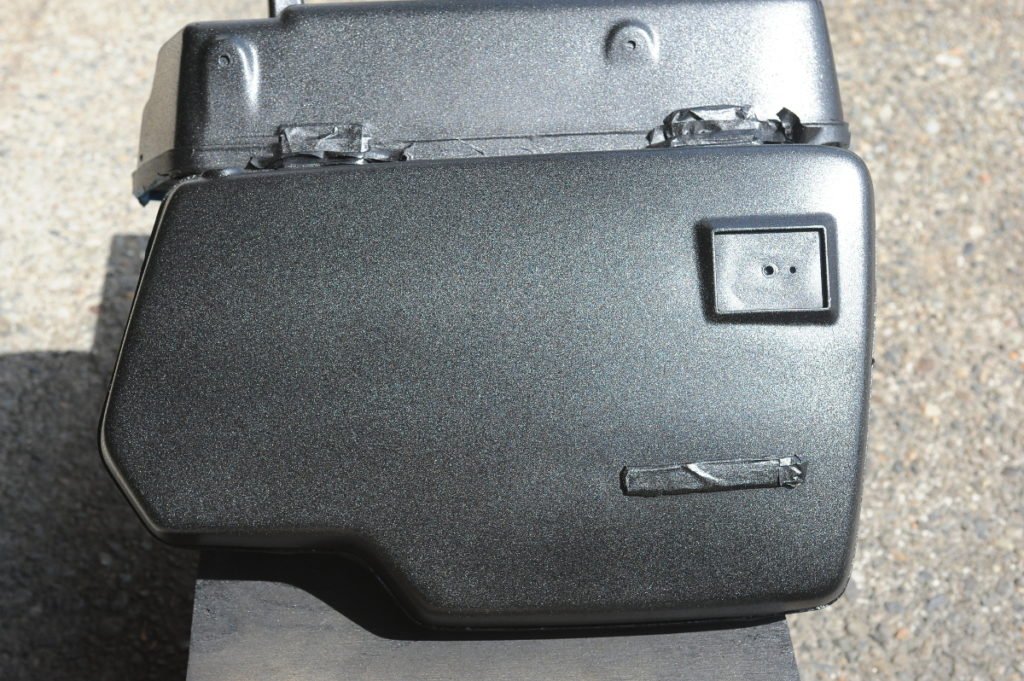 Though I’m quite pleased with the results, I won’t know for some time if truck bed coating was a good idea. Others have reported good results. I do expect the rough, sandpaper-like surface to attract more dirt and be harder to clean. On the upside, if they do scratch, I expect that a quick shot of truck bed coating will have them looking new again.
The bags certainly look a lot better. I also suspect this black, textured finish would work with any color bike as many factory and after-market bags are black textured ABS.
And now for the reveal…

